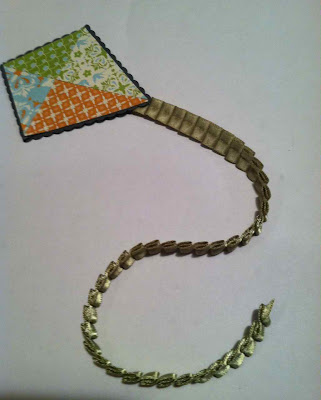
Chock full of Sale-A-Bration goodies! Everyday Enchantment DSP and Ribbon & Brad pack make up the kite. New from the Spring Mini are the Edgelits Dies and Textured Impressions Embossing Folders to match.

Peeking from behind the Square Lattice is the beautiful tree image from Forever Young.

These new border treatments make a huge impact and are so easy to use!
TRY IT! Here's the basic How-To...
Start with 2 small pieces of patterned paper:
One at 1-1/4" square
One at -1-1/4" x 2"
Then cut and assemble like this:
Use Sticky Strip around the back border to adhere the scalloped border. Pictured here is SU's Dotted Scallop Ribbon Border Punch.
Add ribbon to kite's tail as desired. The sky's the limit!

I'm playing with a sketch from Stamping 411...

I just turned it left 90 degrees.
Have a blessed & creative day! Erika.


What a fabulous card,love the idea and thanks for the tut
ReplyDeleteI love this idea! You are so clever Erika! Thanks for hanging with stamping 411 this week. (((hugs))
ReplyDeleteGreat card--love your colors, and thanks for the "how to"!!
ReplyDeleteThis is fabulously fun. Thanks for sharing the how to with us.
ReplyDeleteAwesome!! Love this card and that kite is da'bomb!!! Thanks for the tutorial on how to make one too!!
ReplyDeleteSo love the patchwork kite -- what a great idea! Thanks so much for playing along this week with the Stamping 411 Operators! Blessings, Gretchen
ReplyDeleteBeautiful card! This will be on my inspiration blog post today. Thanks for sharing the how-to.
ReplyDelete