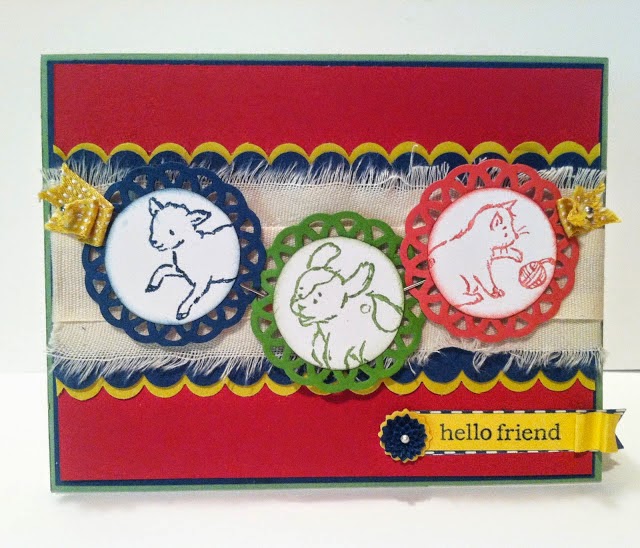
The layout of the card is from our latest sketch challenge at Hand Stamped Sentiments. I flipped the sketch, and took the liberty of leaving it upside down so that you can see how "right on" I was! Haha. You are welcome to turn it back upright for your card, or sideways if that floats yer boat.

If you haven't tried using Stampin' Up!'s Fringe Scissors, you absolutely must! They are SO fun and easy to use. What a great dimensional effect, and it gives the card an ombre look with the graduated shades of pink.
Here are a few tips on creating an ombre fringe card:
1) It looks best if the card base is long ways, i.e. opens from the bottom and not the side.
2) The strip of cardstock I used to layer this card are 4-1/4" x 1-1/2", and scored at 1" to mark where to stop cutting with the fringe scissors.
3) It helps to open the scissors wide to make your cuts, and not to cut until the scissors close. This prevents unnecessary twisting and tearing of the cardstock.
4) The fringe cuts in the scissors seem to be spaced so that your 4-1/4" pieces will have perfectly spaced fringes, right up to both ends! Neat!
I was tempted to color the little critters with an aqua painter, but let it go black and white, like an old cartoon.
SUPPLY LIST:
STAMPS: Storybook Friends, Happy Day
INK: Versamark, Black Stampin' Emboss Powder
PAPER: Subtles DSP Stack, Pink Pirouette, Blushing Bride, Strawberry Slush, Pistachio Pudding, Whisper White
EMBELLISHMENTS: White Organza Ribbon
PUNCHES: 1-1/4" circle, 1-1/2" circle
TOOLS: Fringe Scissors

PS: Here are a couple of the cards I made with Storybook Friends last year!
If you plan to place an order, here is a HOSTESS CODE for your convenience! TPQAW6RB
Have a blessed and creative day!


No comments:
Post a Comment